i was able to get in a nice chunk of sewing time in on monday so i have mostly completed the shell of my minoru. up until this point, i have followed the directions verbatim. to figure out the size and placement of my various pocket additions i really need to see what my jacket space actually is. it’s one thing to draw pockets out on the pattern pieces; it’s another thing entirely to see them in relation to the jacket as a whole.
i measure a size 6 in sewaholic so that’s what i’m making up. everything seems to fit great except for the shoulders. it’s more snug across my back and bicep area than i anticipated. i think i’ll let out the raglan seam at the back just a touch and hope that fixes things. it’s not so tight that i couldn’t live with it, and in reality would only be noticeable when zipped up, but i don’t want my investment of time and resources to leave me with the nagging i should have fixed that when i had the chance… especially since it won’t take that much time.
so that’s my only minor sizing irk at this point. i kept reading people’s reviews about how fast this jacket comes together but i guess i didn’t really believe it. even though it took me almost two hours to make my stupid collar/zip thingie, the rest (except for the hood, which i did sunday) was constructed in an afternoon.

i thought i’d try to give details about my changes and additions. so i’ll start with the hood. many people have stated that they wished the hood was a 3-pc for better shaping. i wasn’t sure how easy it would be to make this little change, but i reasoned it out and it turned out perfect. here’s what i did…
determine how wide you want the middle piece to be. you can measure an existing hood in your life, or do what i did: take a measuring tape, stand in front of a mirror, and eyeball it. i went with 4″. then take your hood piece and draw in the seam allowance. now, take HALF the width you want your center hood piece to be and mark that out all along the top seam. re-add your SA, then cut away the excess.
you will need to measure the seam line to determine how long to make the center piece. take that measurement and draw a corresponding rectangle that long and as wide as you previously measured, plus SA’s on either side (for my 4″ wide piece i added two 5/8″ SA’s making my piece 5.25″ wide). if you want to add some match points, measure around on the seam line of the hood and make incremental marks (i did them every 5″) then make corresponding marks on your center hood piece.

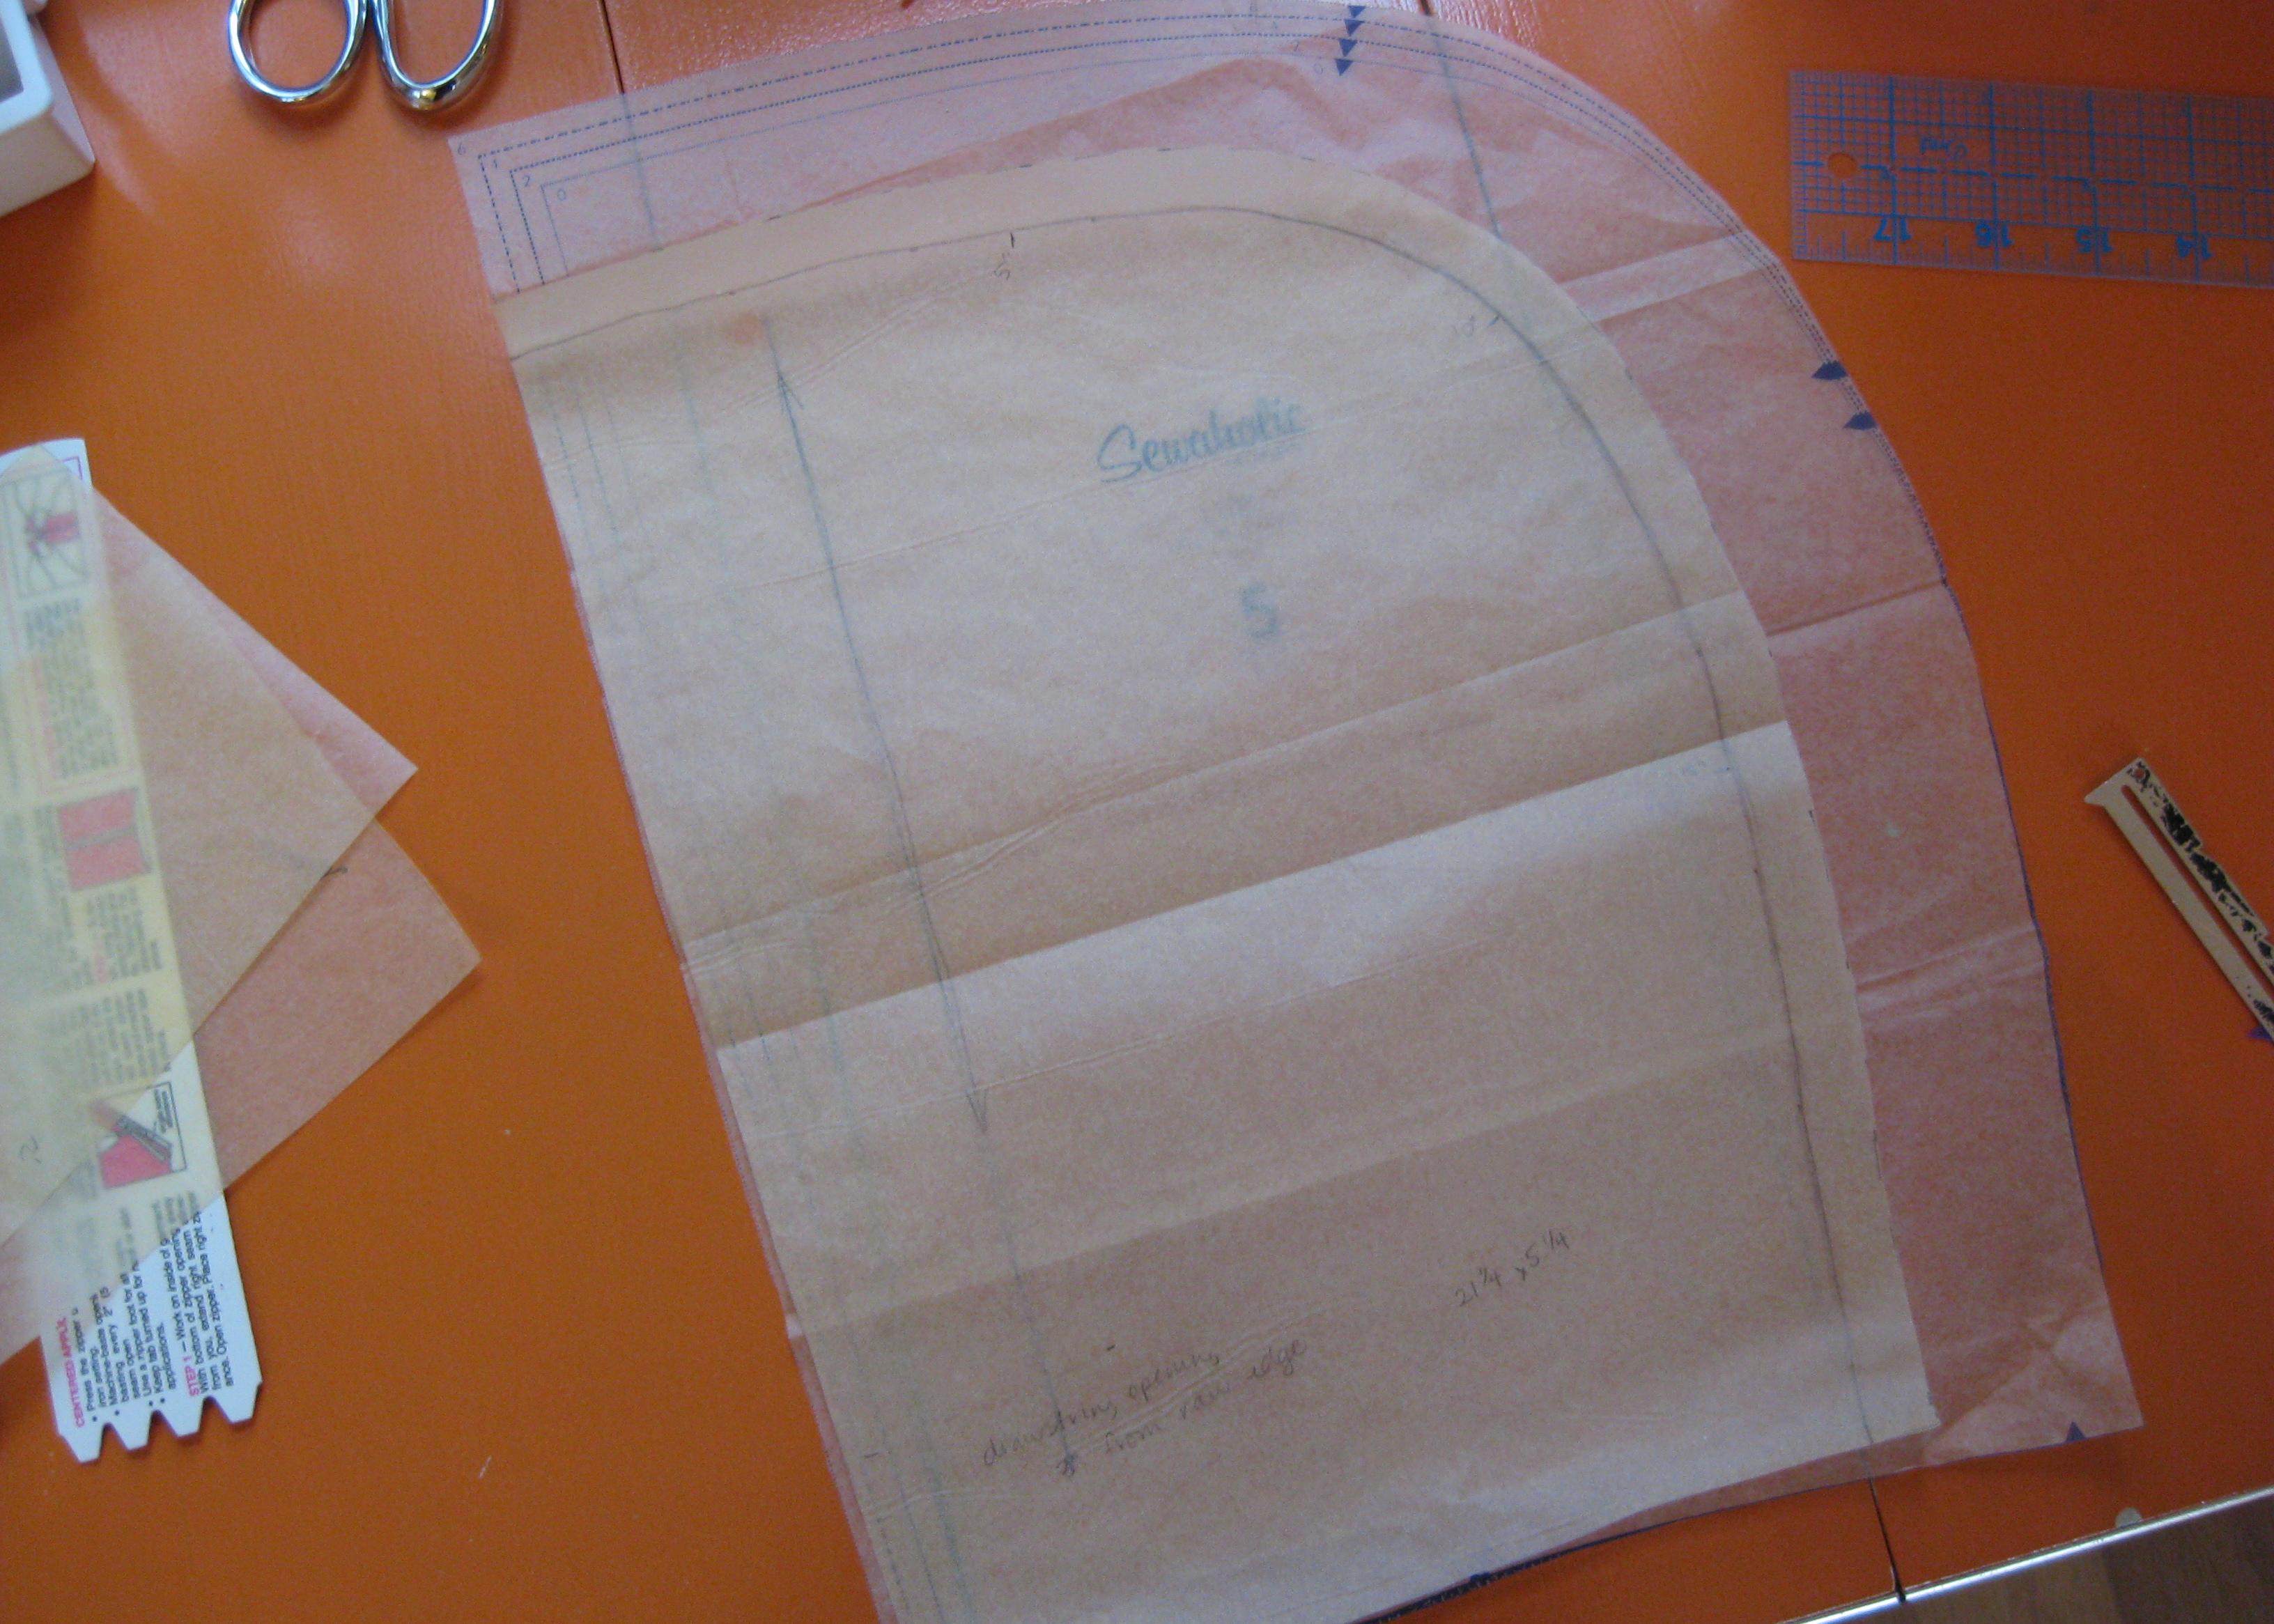
a word of advice when sewing the rounded hood to the straight middle piece: remember that your seam lines are the same length at the seam line. meaning the edge of the seam allowance of the curvy piece will be longer than the edge of the straight piece. it took me a long time when i first got serious about sewing to really figure this out, so if you struggle with this sort of seam, you’re not alone! the edge of the curved piece will be rippled at the edge of the seam allowance because it is longer. i find it easiest to pin these pieces together while holding it and shaping it as i pin. generally i’m a light pin-er, but not when it comes to this type of curve.

since i didn’t take pics while actually sewing this together, this obviously is my paper pattern.
then, when you go to sew this, have the straight piece down, and the curved piece on top. keep turning and adjusting your work so that you sew in the straight line of the rectangle piece instead of trying to sew in the curved line of the outside piece. that will probably only make sense when you’re sitting at the machine and actually sewing.
i decided to flat fell my hood seams for a nice profesh finish. i trimmed the SA of the middle piece then pressed the SA of the outer piece in half, folded it over and around the trimmed SA and stitched it down. now i do have a felling foot, but in all honesty i find it almost as easy to do by hand. plus, my SA here is wider than my foot technically accommodates for. then before hemming the outer edge of the hood, i added little buttonhole openings to allow for a drawstring, which i’ll make from self-bias tape later. if you do this, just make sure that the openings are far enough up to be above the zipper opening in the collar, an easily overlooked detail.

like i said, i have most of the shell done except for all the pockets i’m adding. even though up to this point things have proceeded at a nice clip, i have to figure out and cut my extra pieces as i go, which slows me down considerably. i have the upper chest pocket done and i’m figuring out the main pockets. not 100% what direction i’ll be going there… i’ll be back once i have it all worked out!
—lisa g.

That’s useful to know – thanks. Did you have to increase the zipper opening on the collar as well?
i had bought a longer zip so i could shorten it to the right length using a metal zipper stop.
It’s looking fantastic already!
I think my comment got eaten… The gist is that the zip on that hood is beautifully executed!
haha thanks! it was worth the time i spent trying to get it perfect.
Looking great so far! I had the same issue with the shoulders, and I also found the shoulders in the Renfrew super tight – I think Tasia has rather narrow shoulders and drafts for that. I’ve learned (though it’s taken me way too long) that I need to cut at least one size larger in the shoulders in Sewaholic.
you know, i remember that you wrote about the shoulders being tight (love your version, btw), and several other people made shoulder adjustments. for some reason i just didn’t think it would apply to me! i can’t tell where my shoulders fall on the “wide or narrow” question. it seems different with every pattern. live and learn!
This is looking really good! so neat and perfectly sewn. I really like that colour zip with the grey fabric 🙂